Introduction
This tutorial is about Jenkins setup in Windows and shows you how you can configure the most popular build tool in Windows environment. If you have ever worked on production support or support project where you need to monitor the applications as well as you need to enhance the functionalities of the application then you may find Jenkins setup in Windows server.
Most notable features of Jenkins:
- Jenkins is the leading open source automation server, Jenkins provides hundreds of plugins to support building, deploying and automating any project.
- Jenkins is a self-contained Java-based program, ready to run out-of-the-box, with packages for Windows, Mac OS X and other Unix-like operating systems.
- Jenkins can be easily set up and configured via its web interface, which includes on-the-fly error checks and built-in help.
- As an extensible automation server, Jenkins can be used as a simple CI server or turned into the continuous delivery hub for any project.
- With hundreds of plugins in the Update Center, Jenkins integrates with practically every tool in the continuous integration and continuous delivery toolchain.
- Jenkins can be extended via its plugin architecture, providing nearly infinite possibilities for what Jenkins can do.
- Jenkins can easily distribute work across multiple machines, helping drive builds, tests and deployments across multiple platforms faster.
Related Posts:
- Manage Jenkins – Configuring JDK, GIT and Maven
- Creating and building jobs in Jenkins
- Jenkins: Detecting the current branch failed: ref HEAD is not a symbolic ref
- Deploy both war and jar files into Nexus using maven in Jenkins
Prequisites
Minimum Recommended Configuration:
Java 8 (either JRE or JDK)
256MB free memory
1GB+ free disk space
Recommended Configuration for Small Team:
Java 8
1GB+ free memory
50GB+ free disk space
Jenkins Setup In Windows
Please go through the following steps to understand how to setup Jenkins in Windows System.
Step 1. Download the windows setup file https://jenkins.io/download/
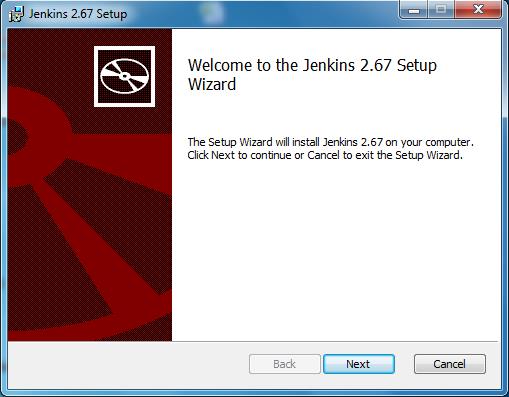
Step 2. Extract the downloaded zip file and double-click on msi file. You will see the following installation wizard.
Step 3. Click on Next and select the Destination folder where you want to keep the installed files.
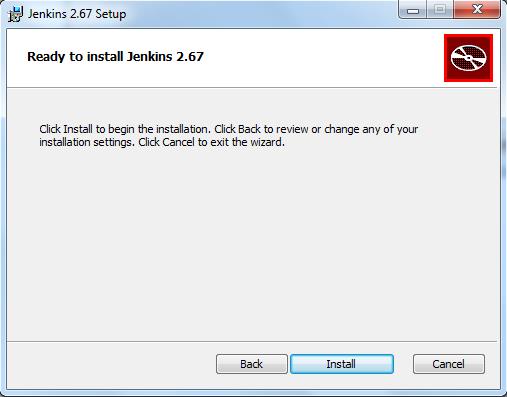
Step 4. Click on Install.
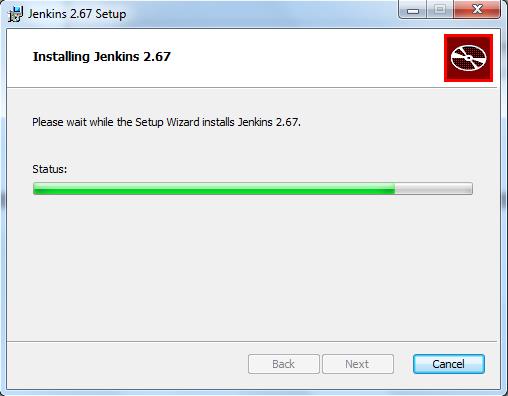
Step 5. Now click on Next, you will see the following screen.
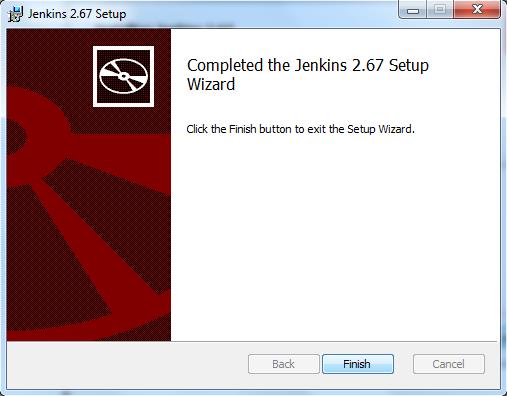
Step 6. Click on Finish.
Step 7. Once you click on Finish, you will see below screen.
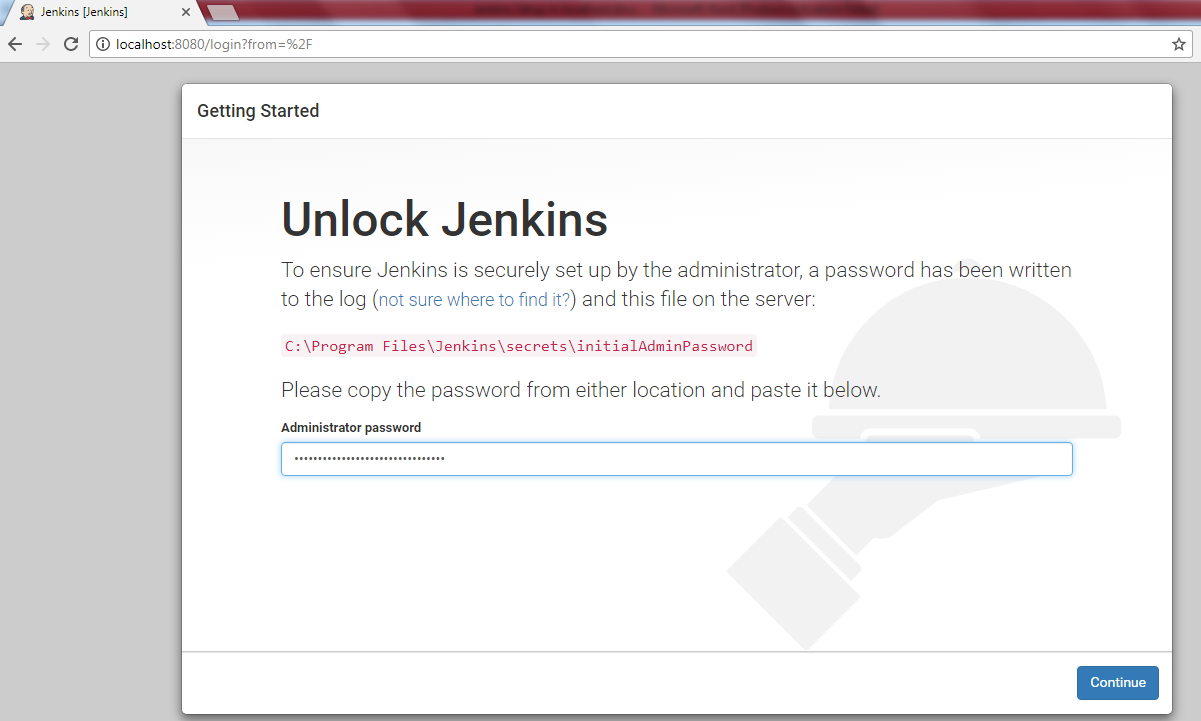
Step 8. Now copy the initial password from the above mentioned path in red color text and paste it to the input box. Click on Continue.
Step 9. Now wait for few moments and you will get the below screen. Now it depends on you which plugin you would choose to install.
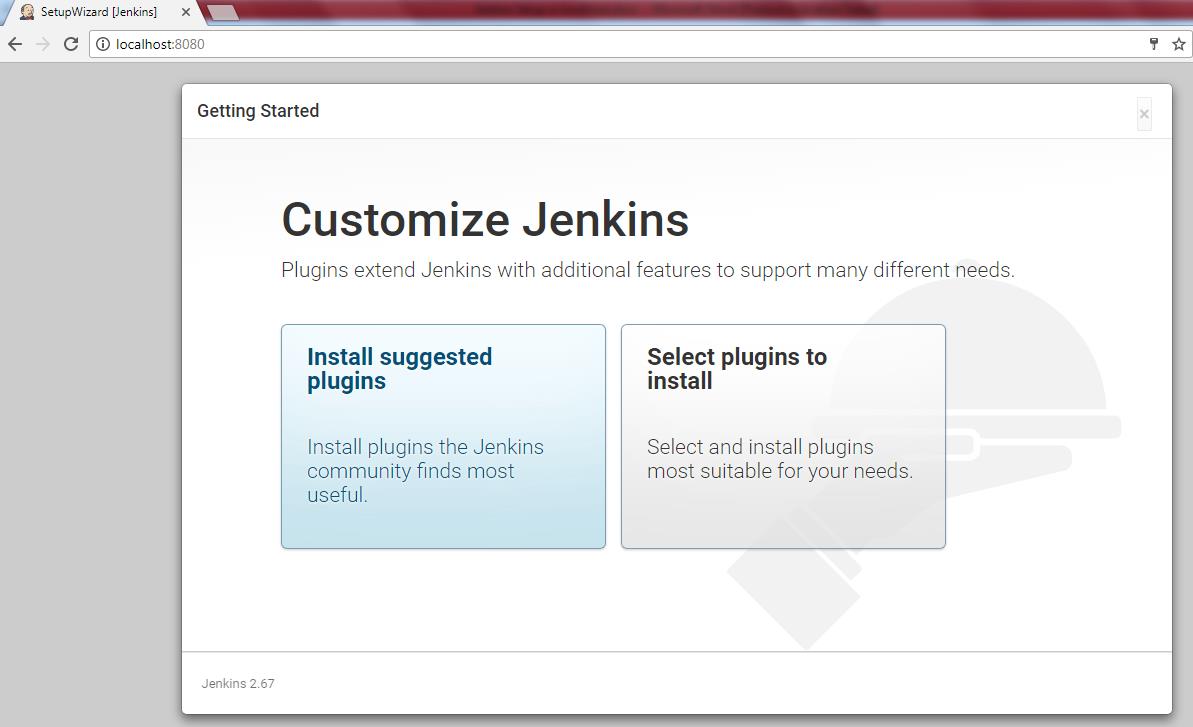
Step 10. Now if you open “Select plugins to install”, you can customize your plugins installations or if you choose “Install suggested plugins”, you will see the below screen where installation gets started with the default chosen plugins

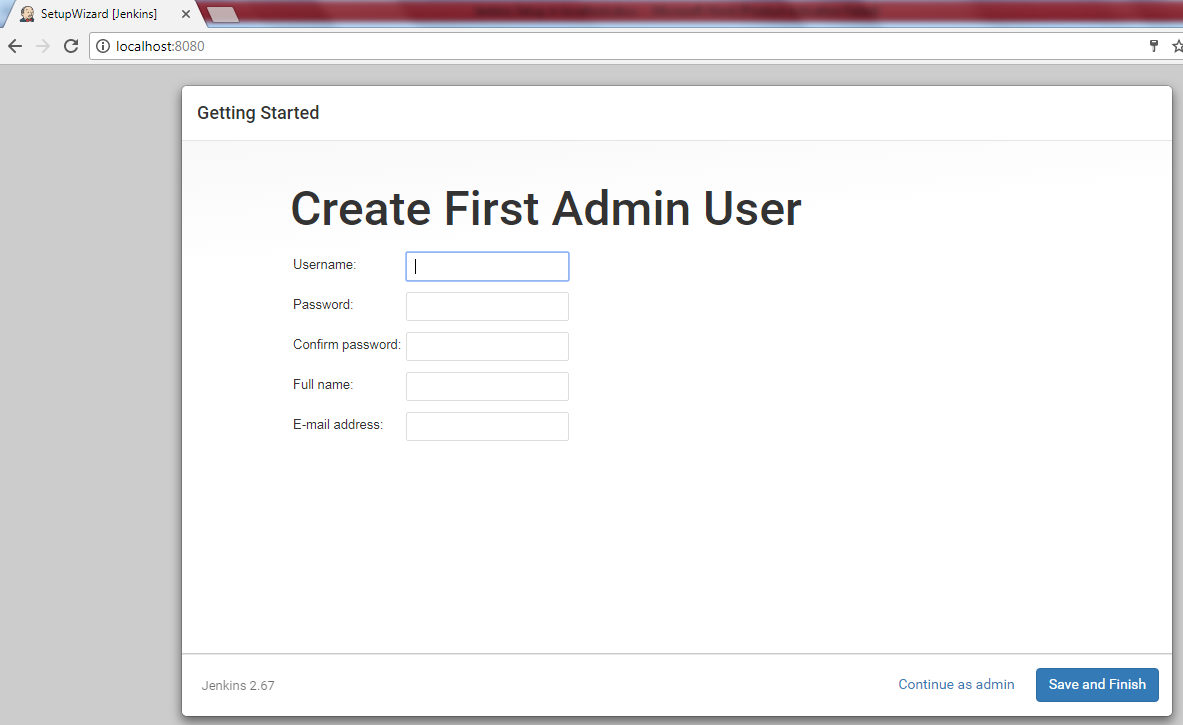
Step 11. Once plugins installations finished you will be redirected to the following user creation screen. Fill all the fields and click on “Save and Finish”.
Step 12. Now you see the following screen.
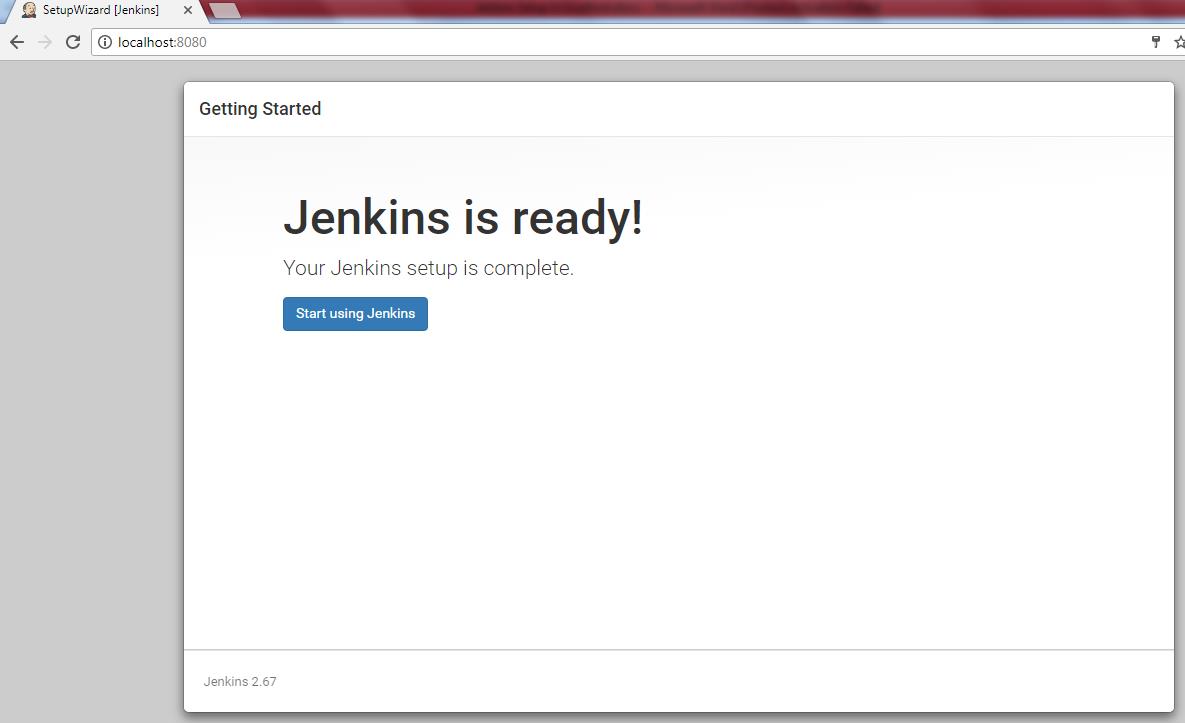
Step 13. Now click on “Start using Jenkins”, you will get inside the Jenkins.
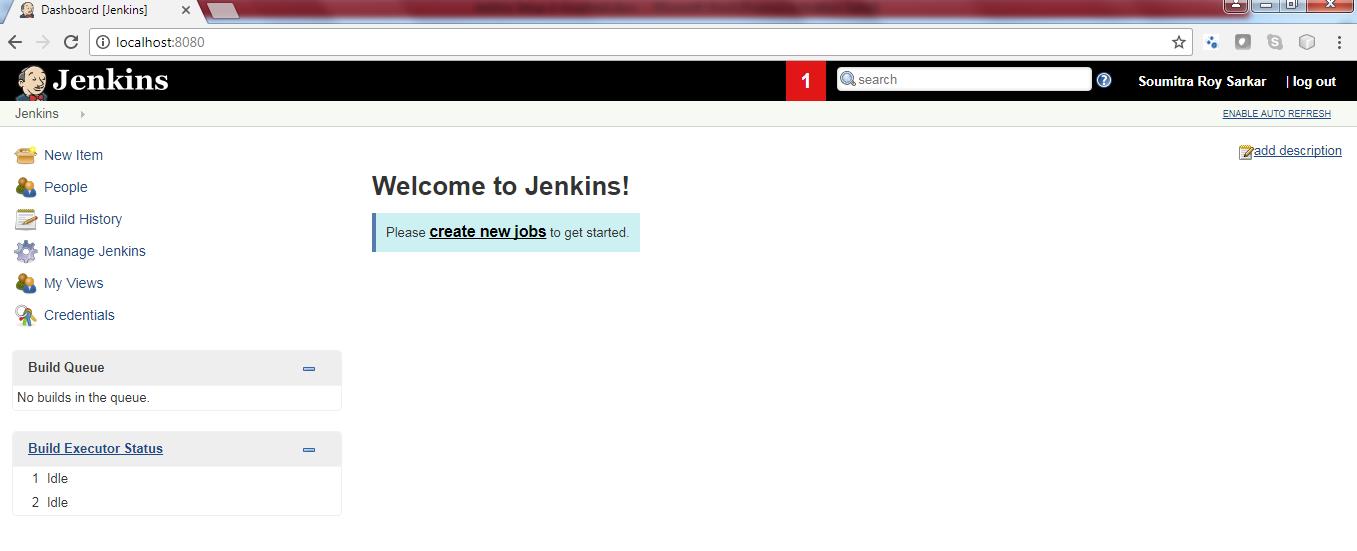
Step 14. Now you would be able to create new job, Manage Jenkins etc.
The Jenkins URL is http://localhost:8080/ and you have to use the credentials which you have created using user creation page above.
Changing Default Port 8080
Open the Jenkins.xml file located at C:\Program Files\Jenkins\jenkins.xml and you will see “–httpPort=8080” under <arguments/> tag.
Now change 8080 to any other port, for example, 9090.
Now if you try to access using new port then you will get error “The site can’t be reached”.
You need to restart the Jenkins service in order to use the new port.
Open Windows Services winzard by writing Services in the run command and select Jenkins.
Now click on Stop and then Start.
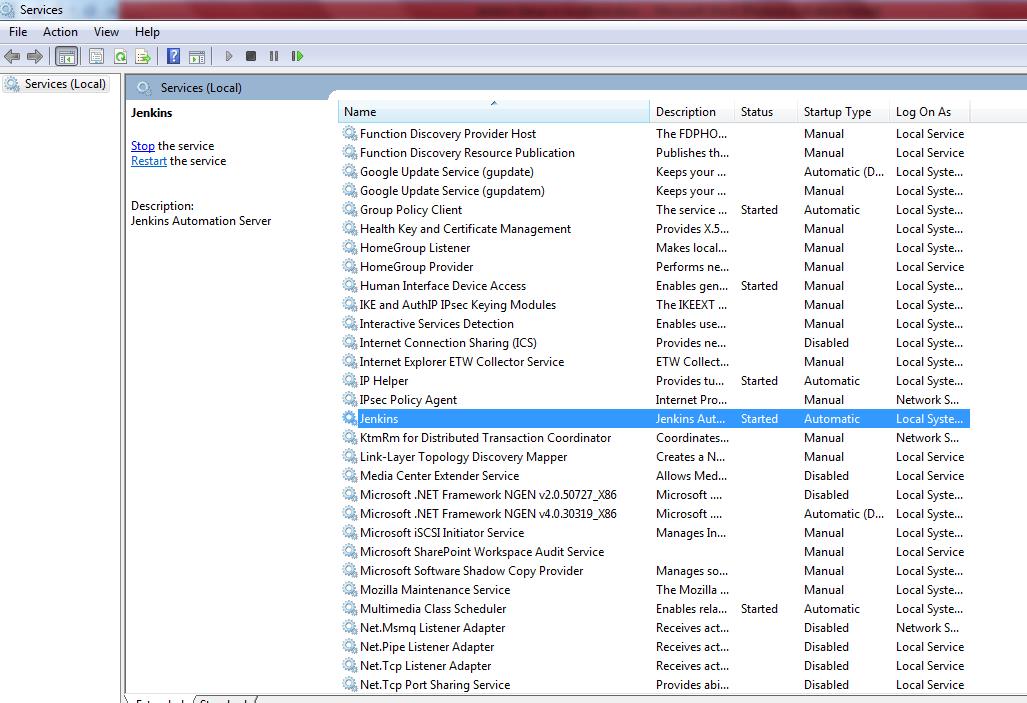
Now access the Jenkins using new port http://localhost:9090/.
That’s all. You have successfully done Jenkins setup in Windows.
Related Posts:
- Manage Jenkins – Configuring JDK, GIT and Maven
- Creating and building jobs in Jenkins
- Jenkins: Detecting the current branch failed: ref HEAD is not a symbolic ref
- Deploy both war and jar files into Nexus using maven in Jenkins
Thanks for reading.