Here I am going to build an application to show how to use Spring Cloud Bus. Let’s say you have multiple applications reading properties using Spring Cloud Config from centralized configuration files (for example, from Git repository). Spring Cloud Config is where you can have not only your all configurations centrally managed but also you can refresh them dynamically and which in turn can be picked by your referencing applications from the very next moment.
So in central configurations using Spring Cloud Config, for each module if there is any change then you have to call /actuator/refresh endpoint individually to get the update. This is again cumbersome. This is where Spring Cloud Bus comes into picture.
Spring Cloud Bus provides feature to refresh configurations automatically across multiple instances of the required modules. This could be useful when multiple microservices are up and running. This could be achieved by connecting all microservices through a single message broker. Whenever an instance gets refreshed, this event is subscribed to all the microservices listening to the broker and they also get refreshed. The refresh to any single instance can be made anytime by using the endpoint /actuator/busrefresh.
Prerequisites
Spring Centralized Runtime Properties Configuration without refreshing the Client, Apache Kafka 2.13_2.7.0 (should work with lower version also)
Project Setup
The same projects, which I had created for the centralized configurations, I will use here. In addition to that I will create another client project (name – spring-dynamic-runtime-configurations-client2).
The project spring-dynamic-runtime-configurations-client2 will have the same configurations as spring-dynamic-runtime-configurations-client. The only difference is that it has endpoint for REST API as /msg2 instead of /msg.
@GetMapping("/msg2")
public ResponseEntity<String> greeting() {
  ...
}
The server port should be different for this -client2 project as -client project already running on port 8080. So the following entry is put into application.properties file.
server.port=8081
...
Testing the Application
Now run all applications – one server app and two client apps. The server app runs on port 8888. The client apps run on port 8080 and 8081 respectively.
Now if you hit the URLs http://localhost:8080/msg and http://localhost:8081/msg2 then you will see the following output on the browser:
Hello DeveloperNow update the external.properties file, with the following value, which has been kept under C:/config folder.
msg=HelloNext call the endpoint http://localhost:8080/actuator/refresh (with http post method) from Postman or any REST client tool or CURL.
Now hit the URLs http://localhost:8080/msg and http://localhost:8081/msg2 in the browser.
You will see the following output for the URL http://localhost:8080/msg:
HelloYou will see the following output for the URL http://localhost:8081/msg2:
Hello DeveloperTherefore you see the difference in the output. As I had call the /actuator/refresh endpoint for -client app. So I saw the updated value for msg key. As I did not call the /actuator/refresh endpoint for -client2 app, so I did not get the updated value for msg key. Here Spring Cloud Bus comes into picture. So for any client when you call the /actuator/bus-refresh endpoint then it will automatically update the config value for all applications subscribed to the message broker.
You can also call URL http://localhost:8081/actuator/refresh to get the updated config value for -client2 app.
In order to use message broker you need to update the applications to use either RabbitMQ or Apache Kafka. I am going to use Apache kafka for this example.
Applications Update
Update the build files for each of the previous projects. You need to add the following dependency in your pom.xml for each of the projects. So you need to add the following dependency in server as well as all client apps.
If you are using Apache Kafka then use the following dependency. I am using Apache Kafka for this example.
<dependency>
	<groupId>org.springframework.cloud</groupId>
	<artifactId>spring-cloud-starter-bus-kafka</artifactId>
	<version>3.0.1</version>
</dependency>
If you are using RabbitMQ then use the following dependency.
<dependency>
	<groupId>org.springframework.cloud</groupId>
	<artifactId>spring-cloud-starter-bus-amqp</artifactId>
	<version>3.0.1</version>
</dependency>
Update build.gradle script for gradle based project for Apache Kafka or RabbitMQ:
dependencies {
	...

	implementation("org.springframework.cloud:spring-cloud-starter-bus-kafka:3.0.1")
}
Or
dependencies {
	...

	implementation("org.springframework.cloud:spring-cloud-starter-bus-amqp:3.0.1")
}
Apache Kafka Configuration
Make sure your Apache Kafka is up and running before you run your server and client apps.
Now add the following configurations for kafka into the src/main/resources/application.properties file in the server app.
spring.cloud.bus.enabled=true
management.endpoints.web.exposure.include=bus-refresh
spring.kafka.bootstrap-servers=http://localhost:9092
Add the following configurations for Kafka into the src/main/resources/application.properties file in the all client apps.
spring.cloud.bus.refresh.enabled=true
spring.cloud.bus.env.enabled=true
endpoints.spring.cloud.bus.refresh.enabled=true
endpoints.spring.cloud.bus.env.enabled=true
spring.cloud.stream.kafka.binder.autoAddPartitions=true
spring.kafka.bootstrap-servers=http://localhost:9092
Re-Testing the Application
Now there is no more change in the app code or configurations. Make sure your Apache Kafka server is up and running. Now start your server app followed by two client apps. Your server app starts on port 8888 at localhost and client apps start on ports 8080 and 8081 respectively. Your kafka binding and subscription to the topic will be happening.
If you hit URL http://localhost:8080/msg or http://localhost:8081/msg2, you will get output Hello Developer.
Now update the value in external.properties file as msg=Hello.
Refresh the actuator bus by hitting any of the following URLs (HTTP method is POST):
- http://localhost:8080/actuator/busrefresh
- http://localhost:8081/actuator/busrefresh
- http://localhost:8888/actuator/busrefresh
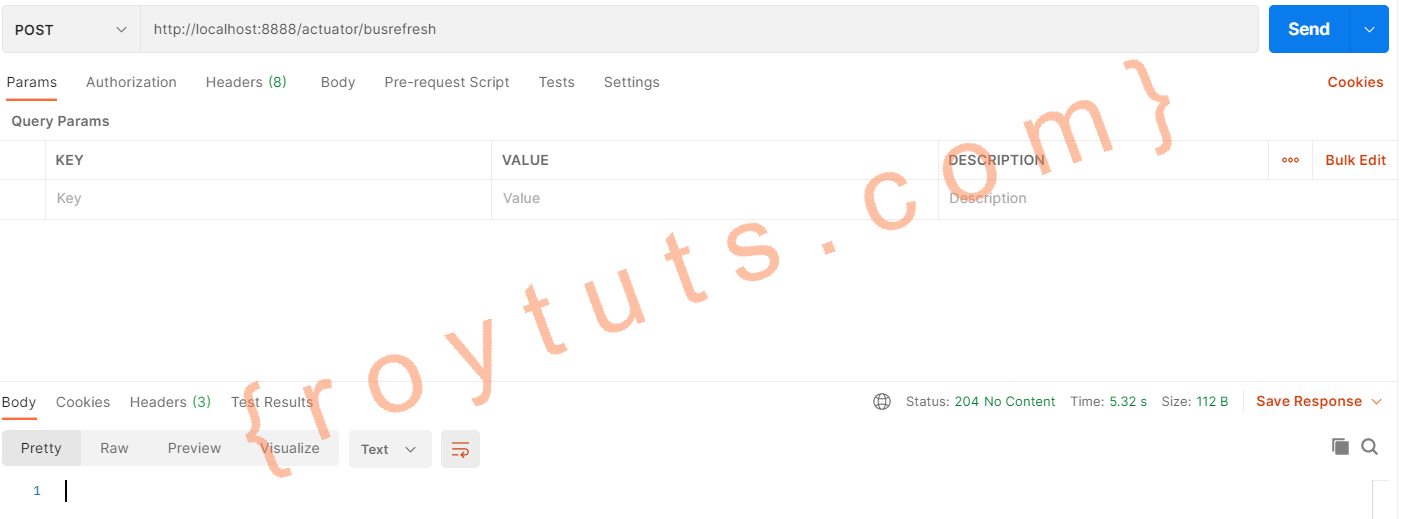
Calling any of the above URLs, you will see similar to the following output:
You can find the above bus URLs by calling the following URLs:
- http://localhost:8080/actuator/
- http://localhost:8081/actuator/
- http://localhost:8888/actuator/
For example you will see the following output for server app:

Now if you hit URL http://localhost:8080/msg or http://localhost:8081/msg2, you will get output Hello.
That’s all about why you need Spring Cloud Bus in your microservices applications.