Introduction
This tutorial will show you an example on starting mule apps from main class. You can use any IDE for building your mule apps. Here we will see how to build and start mule apps in Eclipse. You can also use Mule or Anypoint Studio to build your mule apps.
In our previous tutorial we have seen an example on building mule apps with Gradle in Eclipse. Here we will use the previous tutorial to show example on starting mule apps from main class. So basically if you don’t have Anypoint or Mule studio then also you can build your mule apps outside Mule or Anypoint studio.
To start you Mule flow or app from Java, you need to refer Mule Context.
As we know Spring combines all configuration files into single ApplicationContext, similarly Mule also combines all resource files or configuration files into single ApplicationContext.
The configuration files may be Spring configurations or Mule configurations.
Prerequisites
So let’s first concentrate on our previous example on building mule apps with Gradle in Eclipse.
Configurations
Open the file mule-config.xml under src/main/app directory. In this file notice that the values for host and port are referring using EL (Expression Language) and these values are coming from src/main/app/mule-app.properties file but this file has not been imported into the mule-config.xml file yet.
Therefore when you run the mule apps from main class you will get exception.
So let’s fix the issue first – import the mule-app.properties file into mule-config.xml file as shown below.
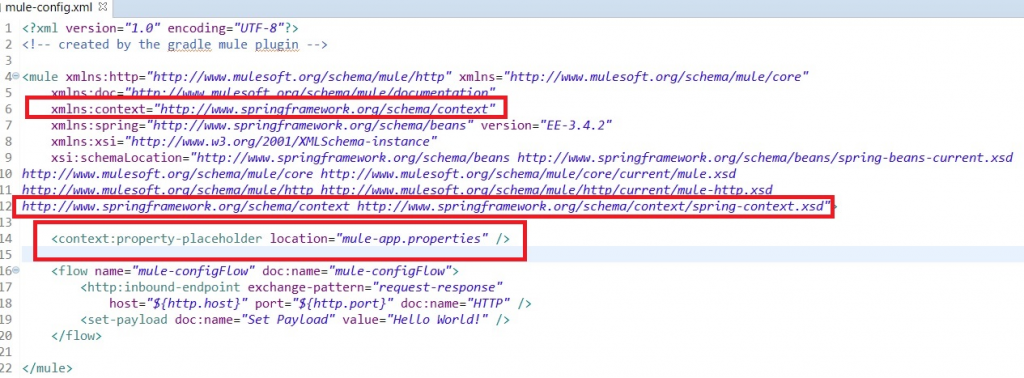
Please make sure you have the entries as highlighted in the above mage.
Here in the above image you see <set-payload/> component after <http:inbound-endpoint/> which will send the payload and display on browser.
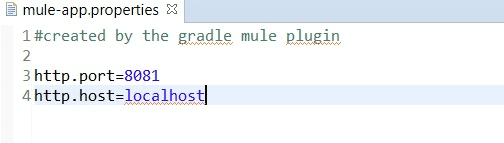
The corresponding mule-app.properties should have the following entries:
Creating Main Class
Now let’s create a main class that will run the Mule server or Mule application:
package com.roytuts.mule.server;
import java.util.logging.Logger;
import org.mule.api.MuleContext;
import org.mule.api.MuleException;
import org.mule.api.config.MuleConfiguration;
import org.mule.api.context.MuleContextBuilder;
import org.mule.api.context.MuleContextFactory;
import org.mule.config.DefaultMuleConfiguration;
import org.mule.config.spring.SpringXmlConfigurationBuilder;
import org.mule.context.DefaultMuleContextBuilder;
import org.mule.context.DefaultMuleContextFactory;
public class RunMuleServer {
	static final Logger LOGGER = Logger.getLogger(RunMuleServer.class.getName());
	public static void main(String[] args) throws MuleException {
		LOGGER.info("Starting Mule Server...");
		MuleConfiguration muleConfig = new DefaultMuleConfiguration();
		MuleContextBuilder contextBuilder = new DefaultMuleContextBuilder();
		contextBuilder.setMuleConfiguration(muleConfig);
		MuleContextFactory contextFactory = new DefaultMuleContextFactory();
		SpringXmlConfigurationBuilder configurationBuilder = new SpringXmlConfigurationBuilder(
				new String[] { "mule-config.xml" });
		MuleContext muleContext = contextFactory.createMuleContext(configurationBuilder, contextBuilder);
		muleContext.start();
		LOGGER.info("Mule Server started");
	}
}
In the above main method you see we are using MuleContext in order to start the application.
Notice how we have loaded mule-config.xml configuration file using the following code:
SpringXmlConfigurationBuilder configurationBuilder = new SpringXmlConfigurationBuilder(
				new String[] { "mule-config.xml" });
You may also use the below code when you have to load just one configuration file:
SpringXmlConfigurationBuilder configurationBuilder = new SpringXmlConfigurationBuilder("mule-config.xml");We have finished with our required coding part.
Running the Application
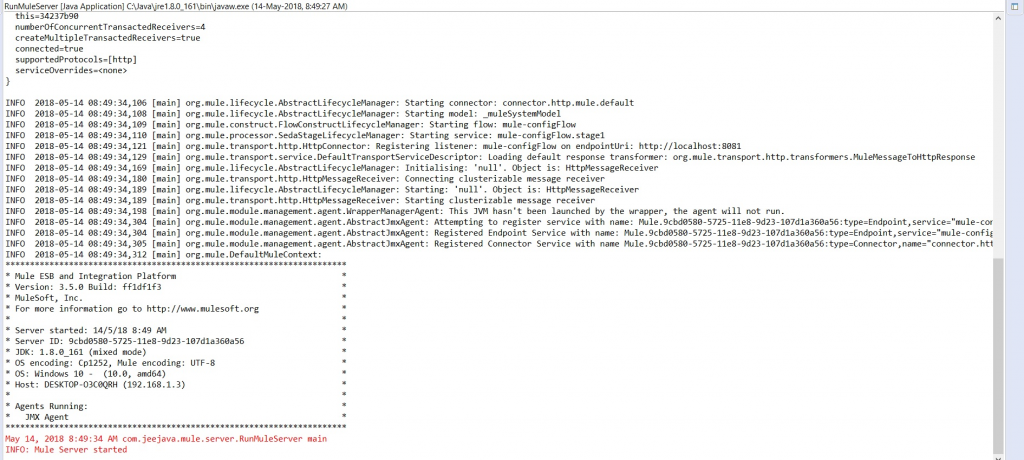
Now let’s start the main class by clicking Run As -> Java Application and check the console log as follows:
Testing the Application
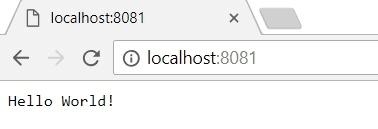
Now test the application by hitting the URL http://localhost:8081 and you should see the below output on the browser.
You have successfully completed the example on starting mule apps from main class.
Now you can add new flows, components etc. to the Mule apps.
Thanks for reading.
HI,
This is a great article and exactly what I’ve been looking for, I’m hopeful it will still work with mule 4 and I can extend it to run our test cases.
The primary issue with the article is that the images are no longer working so we can’t see what the config setup you’re using looks like. Any chance this could be fixed?
Thank you.